Going Green with Worm Composting: A Guide
Guide on Vermicomposting: Crafting Terrific Organic Compost with Worms
Hey there! Let's get right into it. Ever heard of vermicomposting? It's an incredible, eco-friendly way of composting that uses those wriggly little critters - worms! Here's everything you need to know about setting up your very own worm composting system at home.
What is Vermicomposting?
Vermicomposting is a process of breaking down organic matter using earthworms. In this method, the worms consume organic waste materials and transform them into supremely nutritious compost. While regular composting relies solely on microorganisms, vermicomposting utilizes both worms and microbes for decomposition.
Pros and Cons of Vermicomposting
The pros of vermicomposting are myriad. It's a fantastic practice to reduce kitchen waste, nurture your garden, and reap the benefits of a rich, organic fertilizer – the coveted worm castings. These can be used to feed plants or concocted into a powerful worm tea for an added nutrient boost. The process is relatively odor-free and can be executed indoors.
On the downside, there may be some startup costs, and maintaining the system requires regular tending. You'll need to spend time feeding and draining the liquid tray every few days.
Compost Worms and Bins
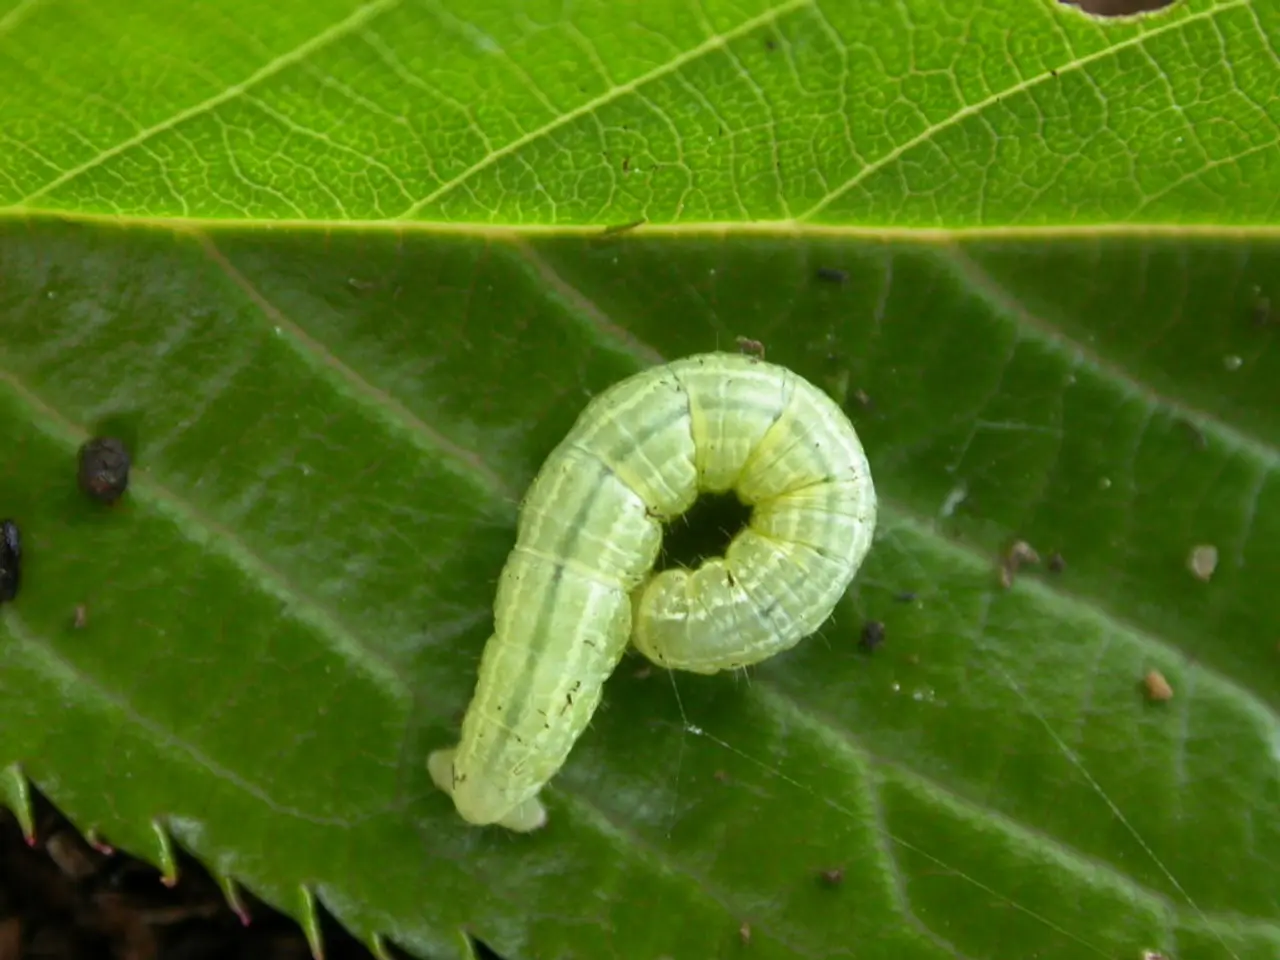
To get started, you'll need red worms (Eisenia fetida), bedding, organic waste, and a bin or area for composting. To build your own worm bin, repurpose a plastic storage bin with a lid, drill holes in the bottom for airflow, and set it on top of wood scraps or bricks to promote circulation. Alternatively, you can buy a red worm composting bin or make a worm tower or tube for in-ground composting.
Wondering where to acquire compost worms? Look no further – they're readily available online or at local garden stores. A pound of worms would suffice for a standard setup.
Filling, Maintaining, and Harvesting Your Compost
Once you have your bin and worms, begin by layering the bedding material, such as shredded newspaper or cardboard, in the bottom of the bin, ensuring it is moist and well-draining. Add worms and kitchen waste in small amounts, remembering to cover the bin to keep everything contained. Food scraps can include fruits, vegetables, coffee grounds, and tea leaves, while avoiding meat, dairy, bones, and potatoes.
Keep the bedding moist, and feed your worms two to three times per week. Over time, the worms will work their magic, turning your waste into nutrient-dense compost within 6-8 weeks. To harvest the compost, pause feeding for a week or two, push the compost to one side, and add fresh bedding to the other. The worms will relocate, and you can collect the rich, dark compost.
A Few Tips for Indoor Vermicomposting Success
- Choose a location with proper ventilation, like a basement or garage, and keep it between 55°F (13°C) and 75°F (24°C).
- Keep the bin protected from direct light.
- Look out for pests like fruit flies and take steps to manage them with tactics like burying food scraps and using fly tape.
- Monitor airflow, moisture levels, and temperature to maintain ideal living conditions for your worms.
- Learn about troubleshooting common vermiculture issues such as escapes, heat management during summer, and winter survival strategies.
And there you have it! Composting with worms promises an abundance of nutrient-rich compost for your plants and a significant reduction in kitchen waste. Happy composting!
Sources
[1] https://gardenmyway.com/indoor-worm-composting-bin/
[2] https://www.wormexpert.com/caring-for-worms/indoor-worm-composting/
[3] https://www.compostguide.com/worm-composting/
[4] https://wormfactory.com/how-to-start-worm-bin/
[5] https://sempergreenwalls.com/collections/worm-farm-kitchen-bins/products/worm-studio-3-in-1-worm-bin
Embrace a greener lifestyle by incorporating home-and-garden practices like gardening and vermicomposting. With indoor worm composting, you can nurture your plants and reduce kitchen waste, creating a rich, organic fertilizer from your own worm composting system at home.


